Lichfield Free

Join Lichfield Free to give and get free furniture, household items, books, food, baby stuff, clothes and more. Or find your local community.
Join
List Layout
Photo List Layout
Cards Layout
Offers   Requests
within
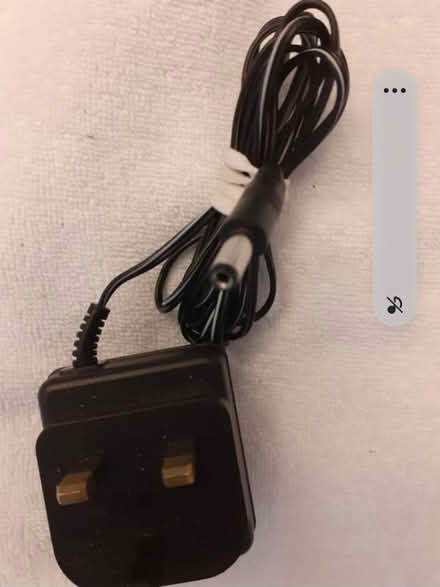
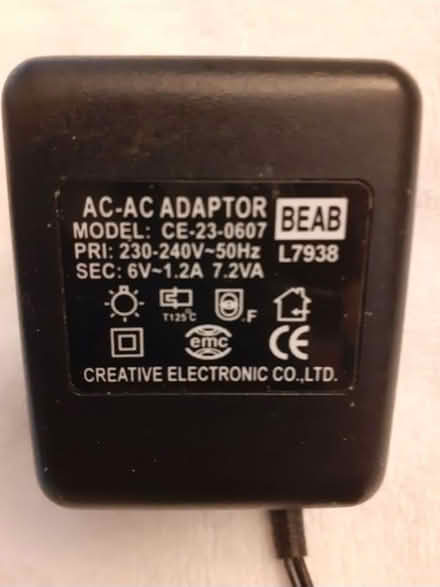
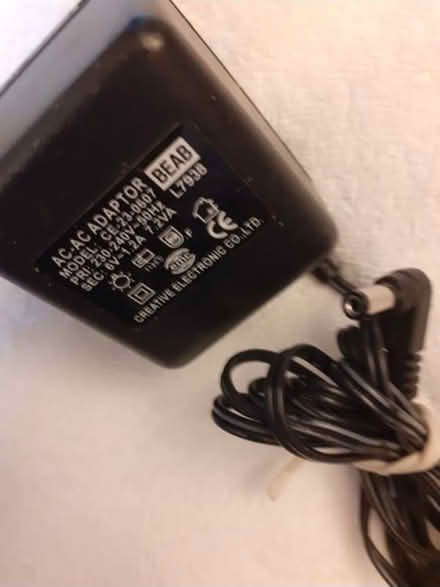
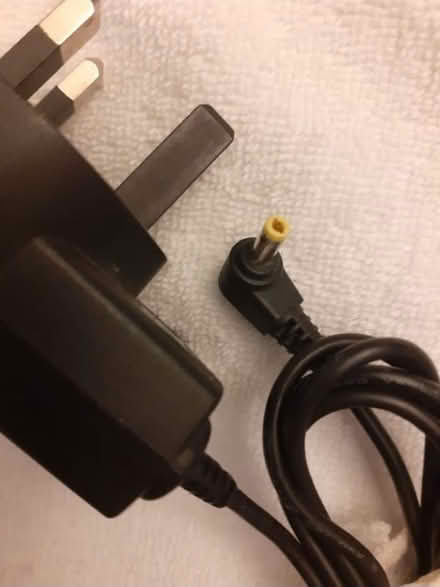
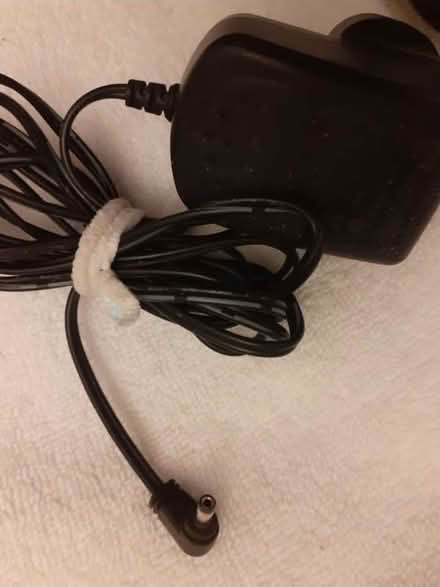
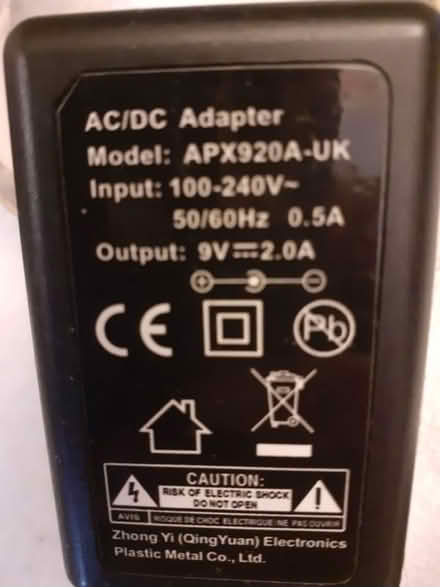
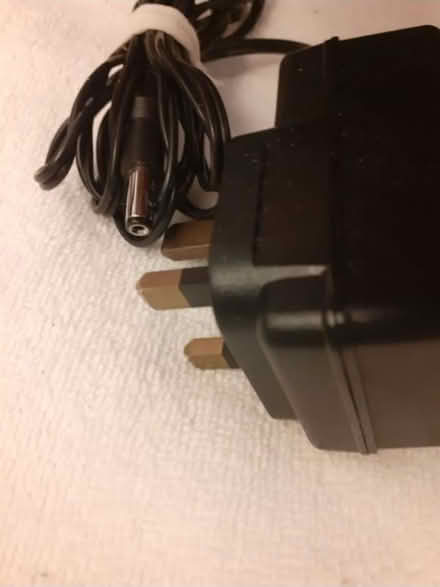
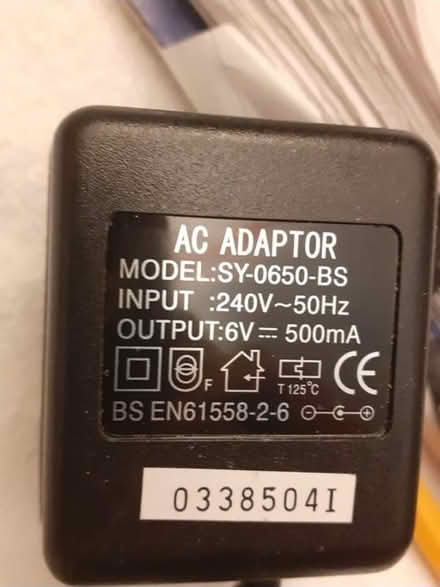
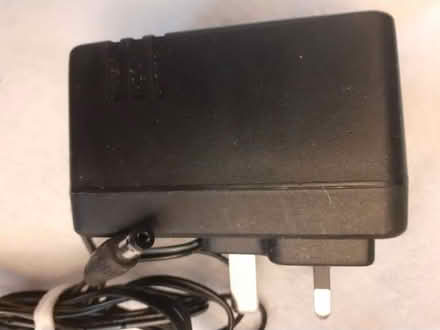
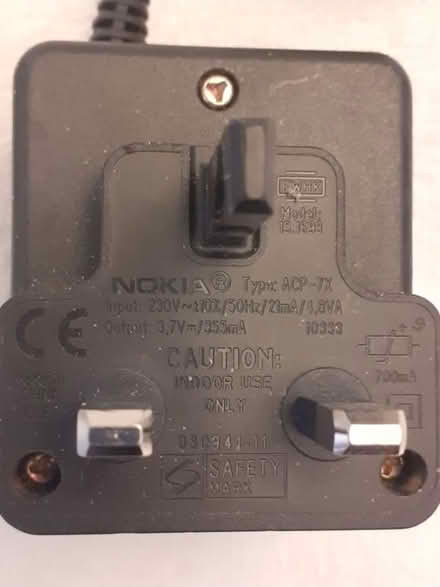
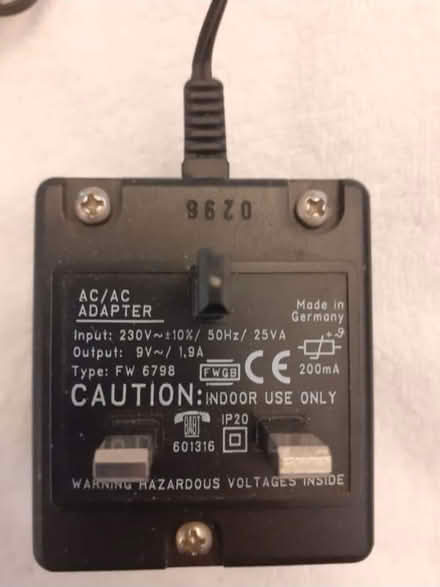
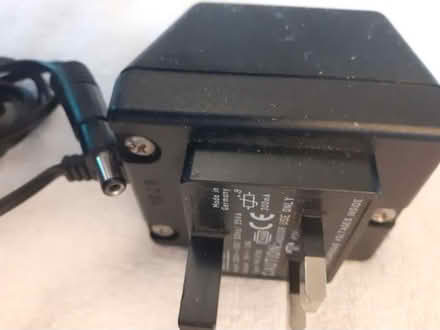
Free: Plug #27 (Birmingham City Centre B1) Collect ASAP
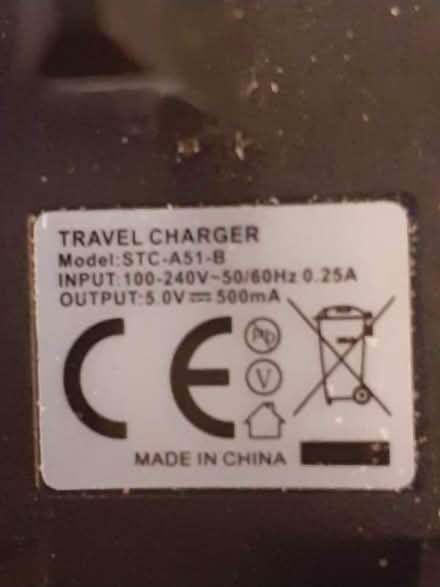
Photo of free Plug #27 (Birmingham City Centre B1) #1
Photo of free Plug #27 (Birmingham City Centre B1) #2
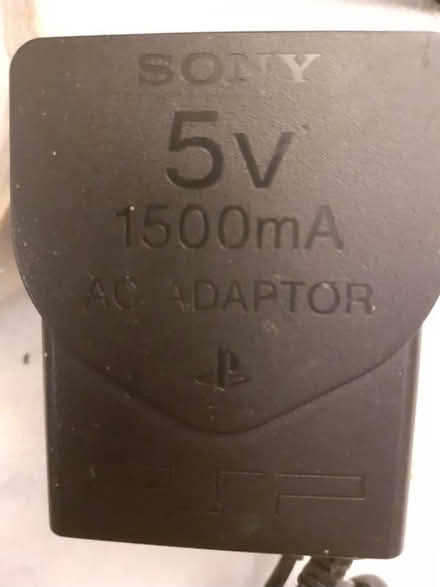
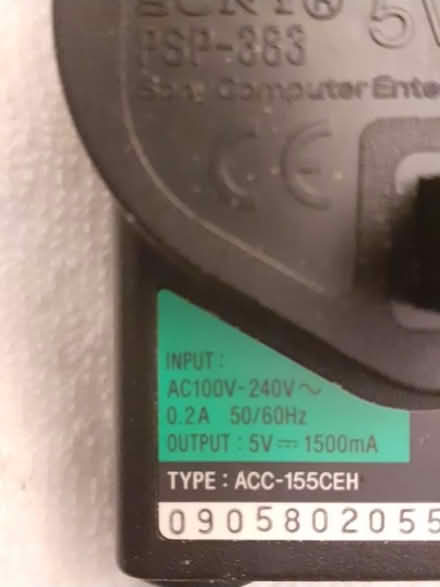
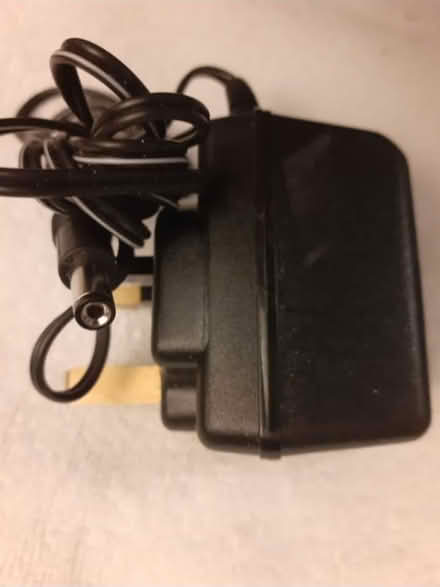
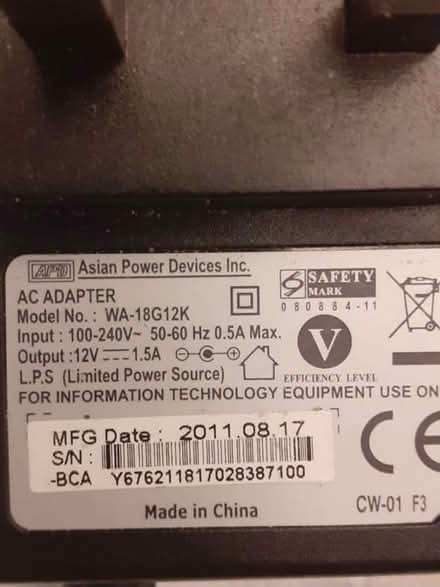
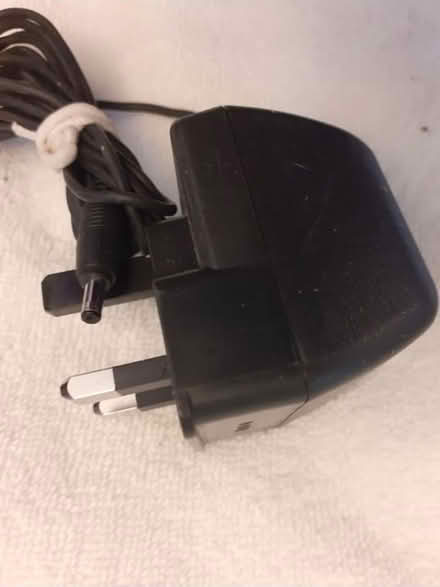
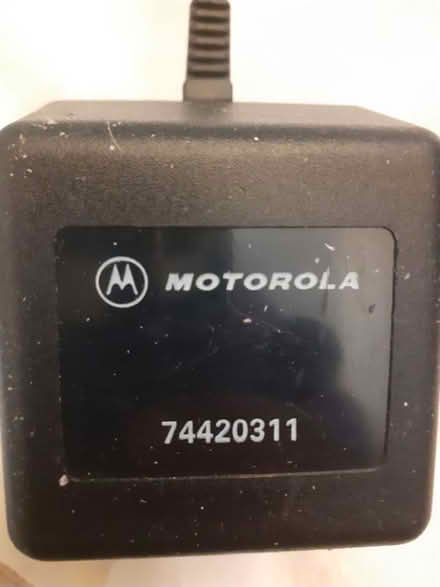
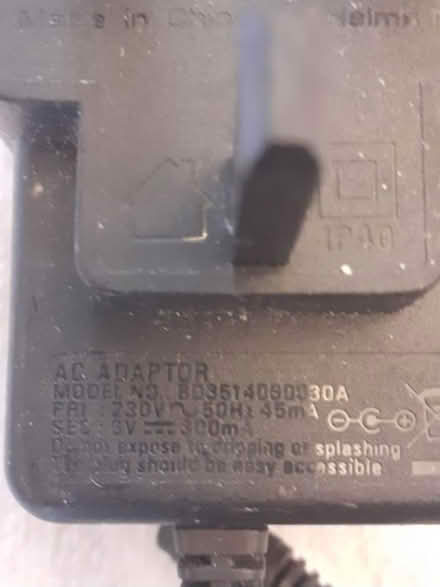
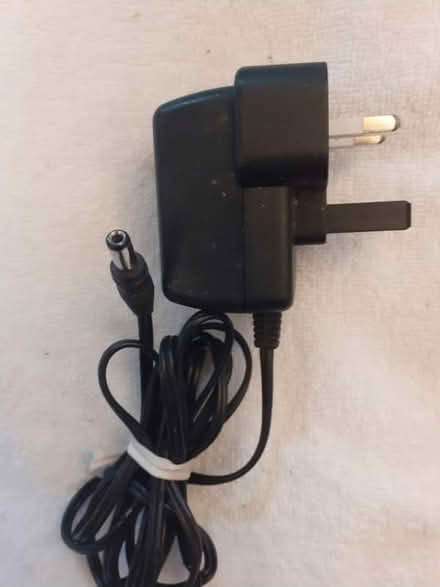
Free: Plug #26 (Birmingham City Centre B1) Collect ASAP
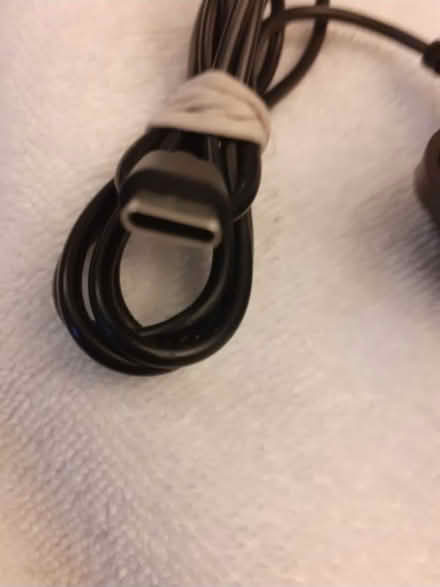
Photo of free Plug #26 (Birmingham City Centre B1) #1
Photo of free Plug #26 (Birmingham City Centre B1) #2
Free: Wall mirror (Stourbridge DY8) Was up above fire place , good condition
Photo of free Wall mirror (Stourbridge DY8) #1
Free: Plug #25 (Birmingham City Centre B1) Collect ASAP
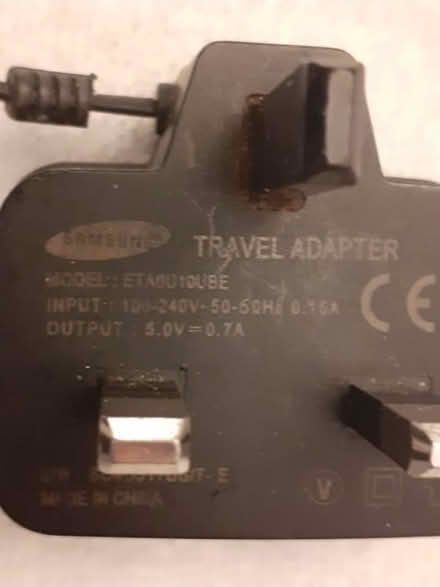
Photo of free Plug #25 (Birmingham City Centre B1) #1
Photo of free Plug #25 (Birmingham City Centre B1) #2
Free: Plug #24 (Birmingham City Centre B1) Collect ASAP
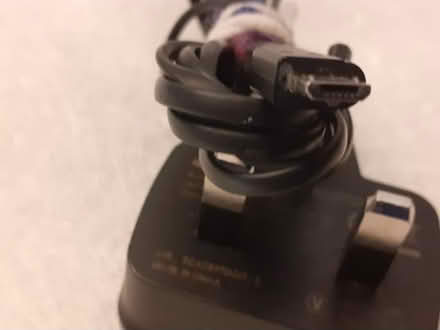
Photo of free Plug #24 (Birmingham City Centre B1) #1
Photo of free Plug #24 (Birmingham City Centre B1) #2
Free: Plug #23 (Birmingham City Centre B1) Collect ASAP
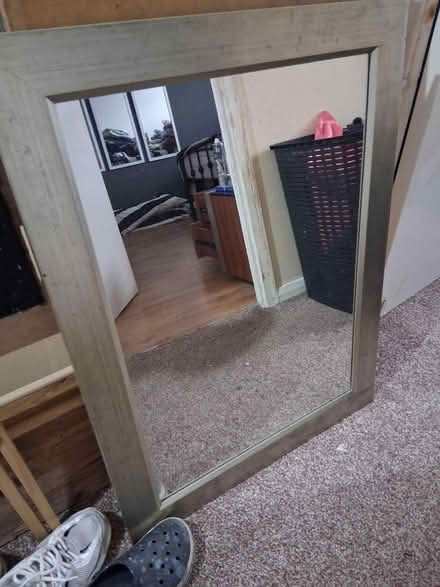
Photo of free Plug #23 (Birmingham City Centre B1) #1
Photo of free Plug #23 (Birmingham City Centre B1) #2
Free: Plug #22 (Birmingham City Centre B1) Collect ASAP
Photo of free Plug #22 (Birmingham City Centre B1) #1
Photo of free Plug #22 (Birmingham City Centre B1) #2
Free: Plug #21 (Birmingham City Centre B1) Collect ASAP
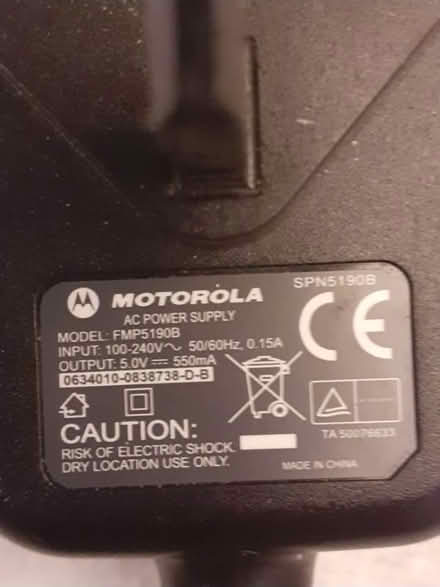
Photo of free Plug #21 (Birmingham City Centre B1) #1
Photo of free Plug #21 (Birmingham City Centre B1) #2
Photo of free Plug #21 (Birmingham City Centre B1) #3
+1
Free: Plug #20 (Birmingham City Centre B1) Collect ASAP
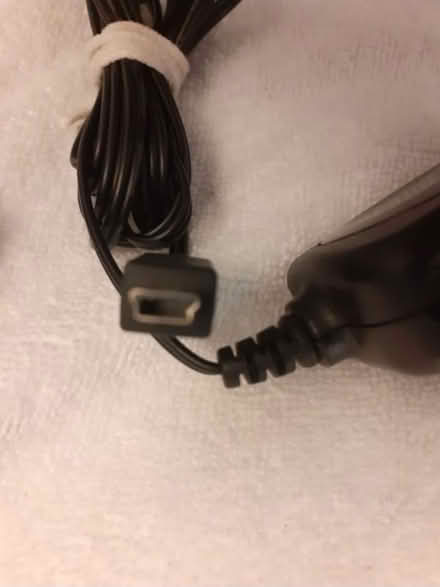
Photo of free Plug #20 (Birmingham City Centre B1) #1
Photo of free Plug #20 (Birmingham City Centre B1) #2
Photo of free Plug #20 (Birmingham City Centre B1) #3
+1
Free: Plug #19 (Birmingham City Centre B1) Collect ASAP
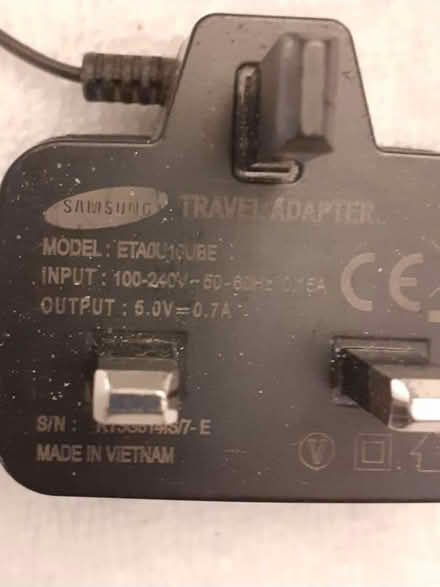
Photo of free Plug #19 (Birmingham City Centre B1) #1
Photo of free Plug #19 (Birmingham City Centre B1) #2
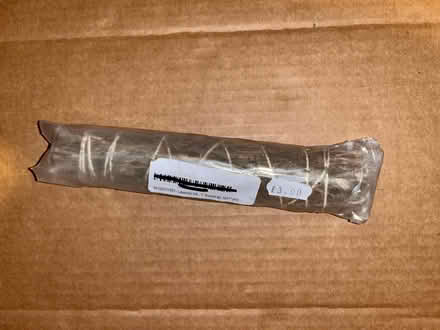
Free: Lavender (Tyseley B11) New
Photo of free Lavender (Tyseley B11) #1
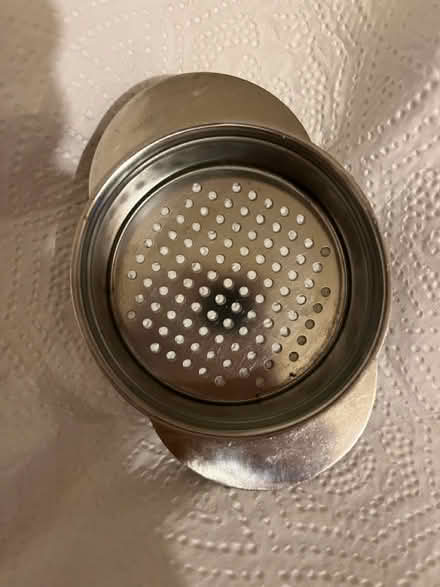
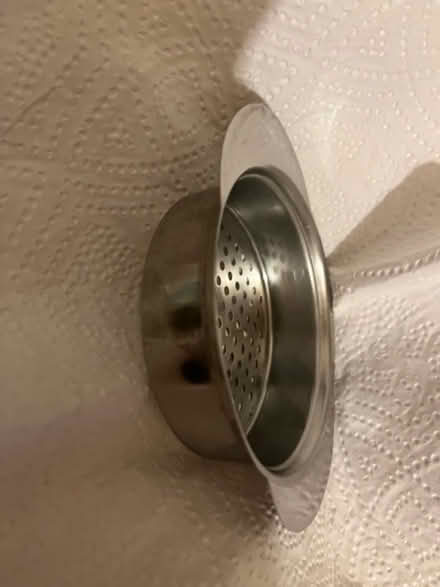
Free: Tea strainer (Tyseley B11) As seen in pictures
Photo of free Tea strainer (Tyseley B11) #1
Photo of free Tea strainer (Tyseley B11) #2
Free: Plug #18 (Birmingham City Centre B1) Collect ASAP
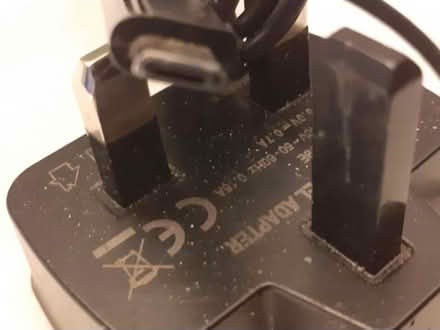
Photo of free Plug #18 (Birmingham City Centre B1) #1
Photo of free Plug #18 (Birmingham City Centre B1) #2
Free: Plug #17 (Birmingham City Centre B1) Collect ASAP
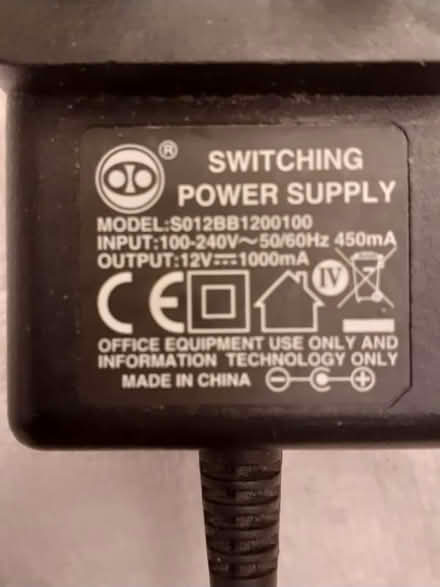
Photo of free Plug #17 (Birmingham City Centre B1) #1
Photo of free Plug #17 (Birmingham City Centre B1) #2
Free: Plug #16 (Birmingham City Centre B1) Collect ASAP
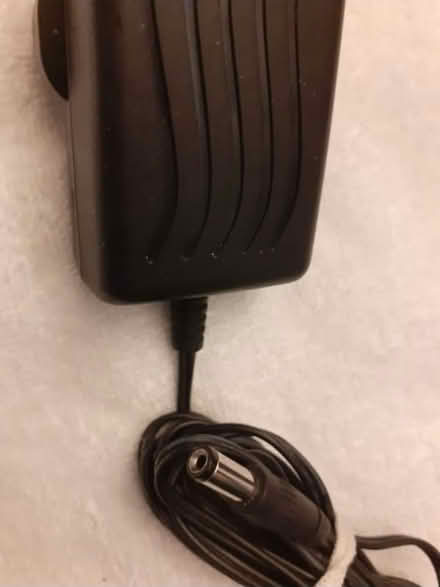
Photo of free Plug #16 (Birmingham City Centre B1) #1
Photo of free Plug #16 (Birmingham City Centre B1) #2
Free: Plug #15 (Birmingham City Centre B1) Collect ASAP
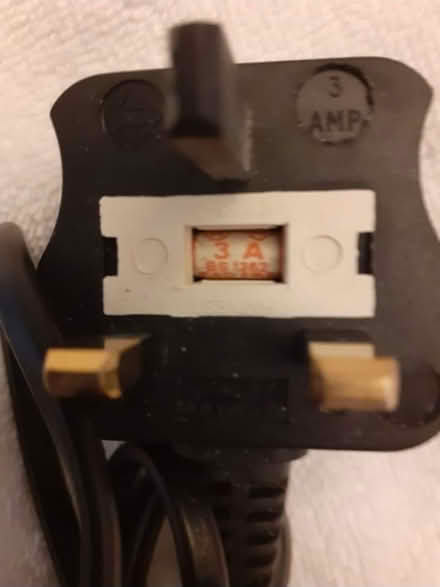
Photo of free Plug #15 (Birmingham City Centre B1) #1
Photo of free Plug #15 (Birmingham City Centre B1) #2
Free: Plug #14 (Birmingham City Centre B1) Collect ASAP
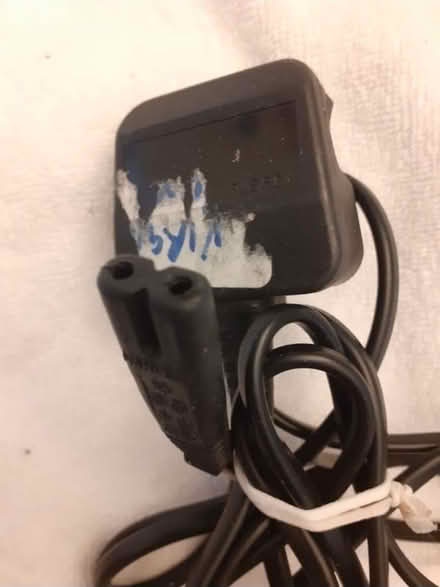
Photo of free Plug #14 (Birmingham City Centre B1) #1
Photo of free Plug #14 (Birmingham City Centre B1) #2
Photo of free Plug #14 (Birmingham City Centre B1) #3
+1
Free: Plug #13 (Birmingham City Centre B1) Collect ASAP
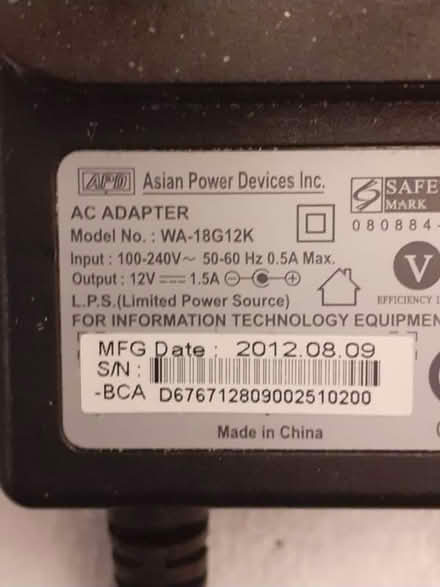
Photo of free Plug #13 (Birmingham City Centre B1) #1
Photo of free Plug #13 (Birmingham City Centre B1) #2
Free: Plug #12 (Birmingham City Centre B1) Collect ASAP
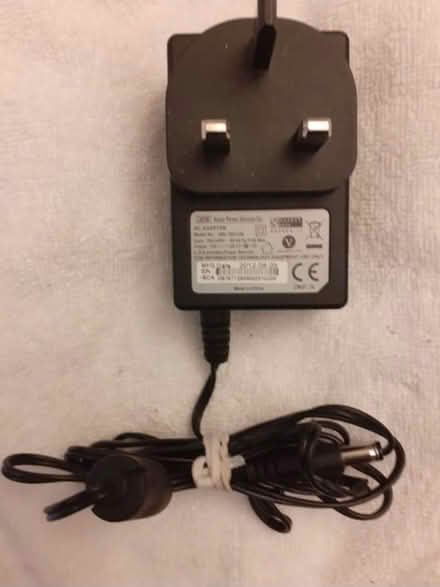
Photo of free Plug #12 (Birmingham City Centre B1) #1
Photo of free Plug #12 (Birmingham City Centre B1) #2
Free: Plug #11 (Birmingham City Centre B1) Collect ASAP
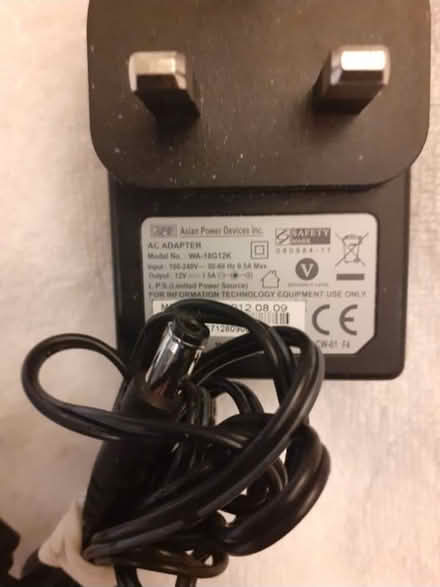
Photo of free Plug #11 (Birmingham City Centre B1) #1
Photo of free Plug #11 (Birmingham City Centre B1) #2
Free: Plug #10 (Birmingham City Centre B1) Collect ASAP
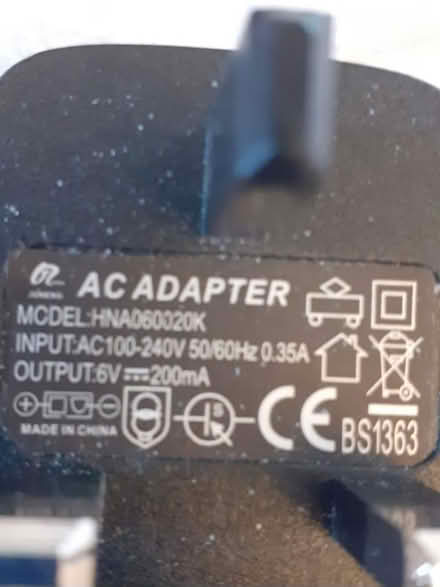
Photo of free Plug #10 (Birmingham City Centre B1) #1
Photo of free Plug #10 (Birmingham City Centre B1) #2
Free: Plug #9 (Birmingham City Centre B1) Collect ASAP
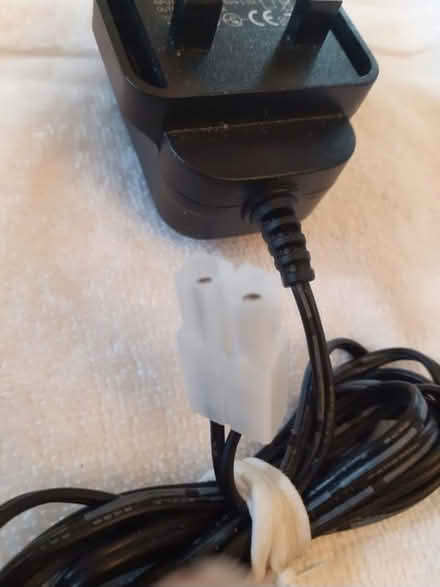
Photo of free Plug #9 (Birmingham City Centre B1) #1
Photo of free Plug #9 (Birmingham City Centre B1) #2
Free: Plug #8 (Birmingham City Centre B1) Collect ASAP
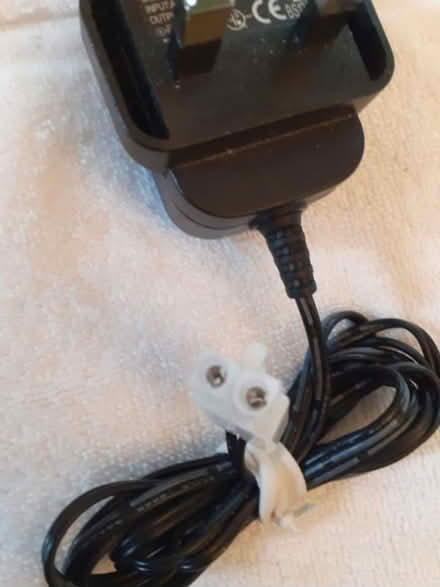
Photo of free Plug #8 (Birmingham City Centre B1) #1
Photo of free Plug #8 (Birmingham City Centre B1) #2
Free: Plug #7 (Birmingham City Centre B1) Collect ASAP
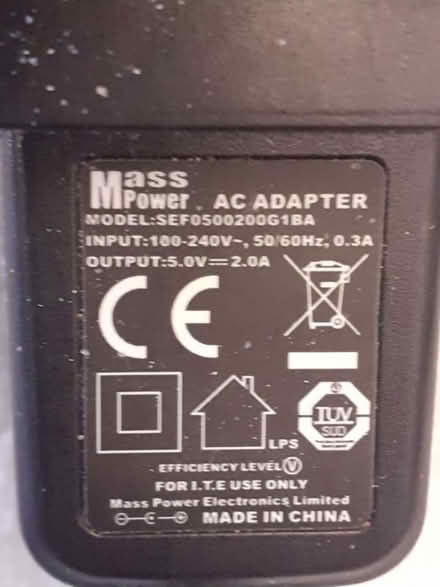
Photo of free Plug #7 (Birmingham City Centre B1) #1
Photo of free Plug #7 (Birmingham City Centre B1) #2
Free: Plug #6 (Birmingham City Centre B1) Collect ASAP
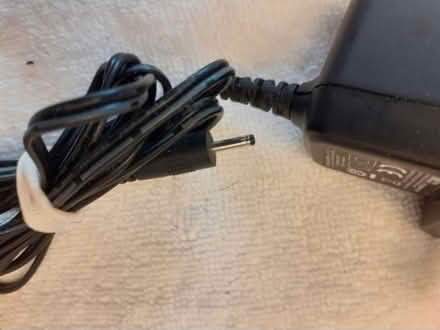
Photo of free Plug #6 (Birmingham City Centre B1) #1
Photo of free Plug #6 (Birmingham City Centre B1) #2
Photo of free Plug #6 (Birmingham City Centre B1) #3
+1
Free: Plug #5 (Birmingham City Centre B1) Collect ASAP
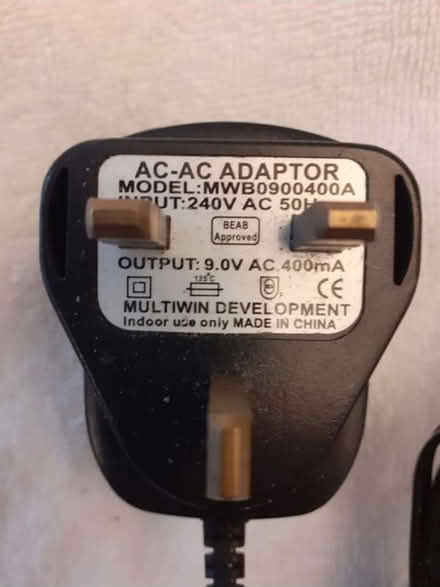
Photo of free Plug #5 (Birmingham City Centre B1) #1
Photo of free Plug #5 (Birmingham City Centre B1) #2
Free: Plug #4 (Birmingham City Centre B1) Collect ASAP
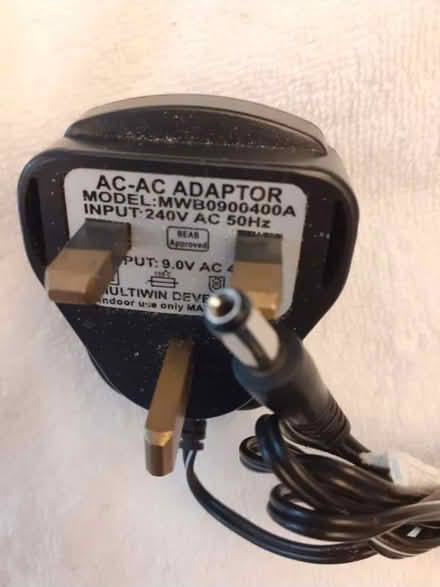
Photo of free Plug #4 (Birmingham City Centre B1) #1
Photo of free Plug #4 (Birmingham City Centre B1) #2
Free: Plug #3 (Birmingham City Centre B1) Collect ASAP
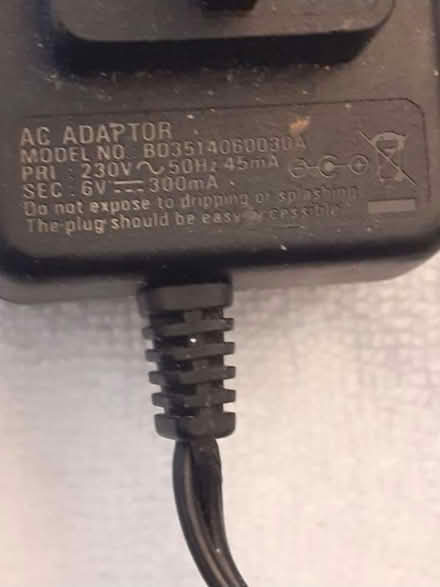
Photo of free Plug #3 (Birmingham City Centre B1) #1
Photo of free Plug #3 (Birmingham City Centre B1) #2
Free: Plug #2 (Birmingham City Centre B1) Collect ASAP
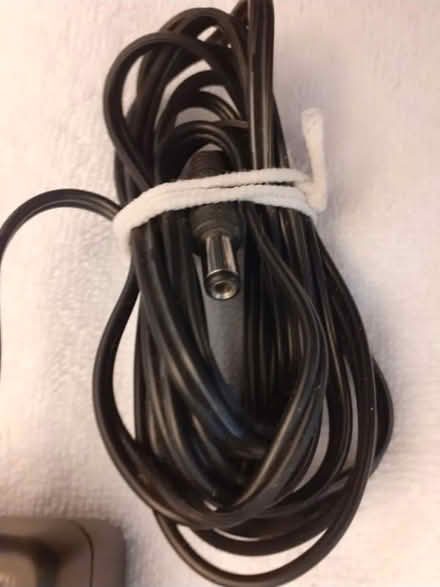
Photo of free Plug #2 (Birmingham City Centre B1) #1
Photo of free Plug #2 (Birmingham City Centre B1) #2
Free: Plug #1 (Birmingham City Centre B1) Collect ASAP
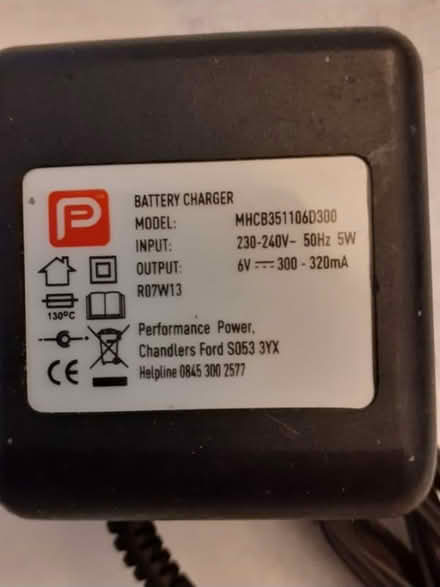
Photo of free Plug #1 (Birmingham City Centre B1) #1
Photo of free Plug #1 (Birmingham City Centre B1) #2